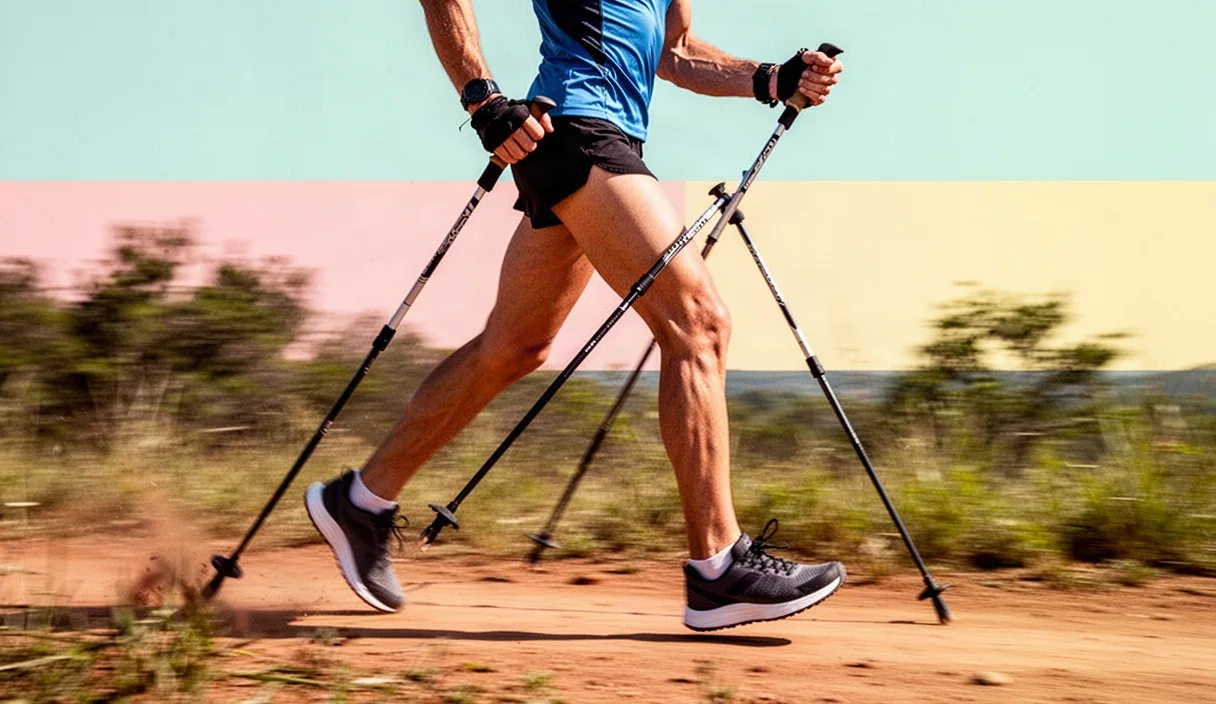

Steep climbs break rhythm fast. When the gradient kicks past 8 percent, staying in a standard diagonal stride often leads to wheel spin on rollerskis or blown traction on hardpack trails. Shifting to double poling or an aggressive double pole kick keeps momentum moving forward through the core rather than burning out isolated calf muscles. Power comes directly from abdominal engagement and body mass falling over the poles rather than arm pulling.
Managing this shift requires distinct mechanical adjustments. Pitching into an incline changes the poling angle, foot travel, and respiratory rhythm. Using the flat-ground double pole mechanics on an 11 percent grade stalls your momentum completely. The following protocols outline the exact thresholds, posture shifts, stride adjustments, and safety measures required to clear severe ascents without wasting energy.
When to abandon diagonal stride for double poling
Switch gears before traction fails. Waiting until your kick slips means you have already lost forward velocity, which takes twice the metabolic work to regain. Diagonal stride works well on moderate inclines, but high gradients expose its mechanical limits. On paved grades above 9 percent with rollerskis, or loose gravel paths above 12 percent with Nordic walking poles, the rearward foot pressure required to kick inevitably breaks surface friction.
Monitor your cadence and glide speed closely. If your forward glide drops below 1.8 meters per second, diagonal stride turns into an inefficient, stamping walk. At that speed, the recovery phase of the leg creates drag. Double poling or double pole kicking eliminates rearward slip by transferring propulsion to twin ground contact points anchored directly under your center of mass.
| Gradient Range | Surface Type | Primary Technique | Trigger to Switch |
|---|---|---|---|
| 3 to 7 percent | Asphalt / Firm Pack | Diagonal Stride | Glide drops below 2.2 meters/sec |
| 8 to 11 percent | Coarse Tarmac | Double Pole Kick | Heel slips more than 5 centimeters |
| 8 to 12 percent | Packed Crushed Stone | Double Poling (High Tempo) | Arm-leg desynchronization |
| 12 percent and higher | Loose Trail Gravel | Shortened Double Pole / Herringbone | Complete loss of rear wheel/foot grip |
Evaluate muscular fatigue patterns during sustained efforts. Diagonal stride relies heavily on hip flexors and quadriceps to generate forward swing against gravity. If your quadriceps reach burning limits while your respiratory rate remains manageable, switch to double poling. Spreading the mechanical workload into the latissimus dorsi, rectus abdominis, and triceps spares your legs for flatter, faster sections downstream.
Upper body alignment during steep forward lean
Do not bend at the waist alone. A common fault on steep pitches is folding into a right angle while leaving the hips behind. This breaks the kinetic chain and forces the shoulders to handle the full load. Maintain an unbroken line from the ankles through the pelvis to the upper thoracic spine. Tilt the entire body forward from the ankle joints, pitching your balance forward into a 14 to 18 degree incline relative to vertical.
Lock your core before pole impact. Just before tips hit the deck, brace your abdominal wall as if preparing for impact. This prevents spinal collapse when body weight meets ground resistance. The elbows must stay bent at an angle between 75 and 85 degrees, held rigid close to the rib cage. Avoid reaching far out in front: planting pole baskets too far ahead creates a braking force that pushes your torso backward down the slope.
Setting the hinge points
- Ankles: Flex forward consistently. Keep knees soft, with roughly 15 degrees of flexion to absorb vibrations.
- Pelvis: Tuck slightly into a neutral posture. Do not let the buttocks push backward away from the hands.
- Hands: Drive down to hip level only. On steep hills, finishing the pole stroke past the hips wastes time and leaves you stuck in a low, compromised stance.
- Head: Gaze stays focused 2 to 3 meters ahead on the ground. Craning the neck upward strains the cervical spine and drops the hips.
Plant the poles steep and close. The tips should enter the ground slightly behind or directly level with your toes, angled backward at roughly 65 to 70 degrees. This angle ensures that every ounce of downward torso drop translates immediately into forward propulsion. Let your rib cage drop toward your thighs using the abdominal crunch, using your body mass to compress the poles into the hill.
Shortening step length to match pole cycle
Match your turnover to the grade. Flat terrain allows long, drawn-out glide phases where a single double pole stroke carries you 4 to 6 meters. On steep inclines, gravity stops forward progress the moment pole tips leave the ground. To counter this, increase your cadence from a typical 42 strokes per minute up to 58 or 64 strokes per minute, while cutting your travel per stroke drastically.
Shorten your foot recovery path. If you are using a double pole kick, the driving foot should only extend back half as far as it does on flat ground. Bring the kicking foot back under your center of mass immediately. Lengthening the stride on an 8 percent grade shifts weight onto the back leg, which drops your hips and pulls you out of the forward poling pocket.
Cadence and stride adjustment sequence
- Plant with stacked weight: Set pole tips level with your boots while both feet are parallel and spaced 10 to 14 centimeters apart.
- Execute a rapid crunch: Drive through the pole grips, ending the stroke abruptly as hands cross the mid-thigh.
- Pop the hips upward: Snap the hips back up into the forward lean using gluteal contraction the instant the poles release.
- Step short under the torso: If walking or kicking, take a compact 30 to 45 centimeter stride forward. Land on the midfoot rather than the heel.
- Reset hands instantly: Recoil the hands up to chest level in an arc close to the chest, ready for the next ground strike without hesitation.
Keep the ground clearance of your feet low. Lifting skis or shoes high off the ground on steep pitches wastes energy and threatens balance. Shuffle the feet forward with minimal vertical lift. The objective is continuous ground contact to keep your balance platform steady while the upper body handles propulsion cycles.
Breath control during high load ascents
Tie your breathing directly to pole plants. Unstructured, rapid panting leads to shallow chest ventilation, oxygen depletion, and early lactic acid accumulation in the shoulders. Steep double poling demands a high thoracic load, meaning the diaphragm and intercostal muscles are working simultaneously to stabilize the spine and oxygenate the blood.
Use a strict one-to-one breathing cadence on gradients exceeding 9 percent. Inhale sharply as your torso rises into the recovery phase; exhale forcefully as your abdominal muscles crunch downward during the pole drive. The exhalation actively aids the trunk flexion, driving air out under compression. On less severe grades of 5 to 7 percent, a two-to-one pattern (one full breath cycle every two pole plants) can work, but steep pitches require the high throughput of the one-to-one rhythm.
Avoid holding your breath under peak strain. When the hill steepens suddenly, athletes often lock their throat against the strain for two or three strokes. This Valsalva maneuver spikes blood pressure, disrupts venous return to the heart, and creates immediate oxygen debt. If you feel lightheaded, drop your stroke tempo slightly, force three consecutive sharp exhalations, and shorten the poling stroke to lower muscular resistance per push. For athletes with cardiovascular conditions, high-intensity uphill training should be cleared with a physician first.
Safety checks on loose gravel gradients
Loose gravel compromises pole grip instantly. Before tackling fire roads or unpaved tracks with gradients above 7 percent, inspect the carbide tips of your poles. Rounded or chipped tips that manage fine on asphalt will slide unpredictably on hard packed trail bases with loose top layers. Tips need a sharp, chisel-like profile to bite past the loose aggregate into the substrate below.
Select appropriate basket diameters based on gravel depth. Small roller skiing ferrules sink 4 centimeters into loose screenings, bottoming out your grips and wrecking your stroke geometry. Switch to medium or wide cross-country baskets (ranging from 40 to 55 millimeters in diameter) when heading off pavement. The basket arrests tip sinkage, ensuring your mechanical leverage is preserved at the surface level.
Pre-climb gravel protocol
- Inspect tip integrity: Check that carbide teeth have zero wobble inside the plastic ferrule. Replace if worn down to less than 2 millimeters of protrusion.
- Scan the tread line: Pick paths where vehicle tires have compacted the gravel into firm bands. Avoid the loose central berm where loose rocks collect.
- Check strap tension: Tighten pole straps so the hand sits firmly over the grip wedge. Any slack in the strap forces you to grip the shaft tighter, fatiguing forearms prematurely.
- Assess rollback risk: If using classical rollerskis, clean the ratcheted wheels. Grit trapped in the needle bearings can cause the one-way clutch to slip backwards on high grades.
Watch for sudden grip washouts. If a pole tip skips off an embedded stone during your forward lunge, your torso will drop without support. Keep your weight distributed across both poles simultaneously; never commit your full body weight exclusively to one side on unpaved surfaces. If one pole slides, the second plant catches your balance before your chest drops into the frame.
Common mistakes
Dropping the hips into a seated position remains the most frequent error on steep sections. When fatigue mounts, athletes bend their knees deeply and push their hips back to take weight off their shoulders. This instantly destroys the forward lean angle, leaves the poles stranded out in front, and reduces propulsion to weak tricep extensions. Keep the hips high and forward over the feet.
Over-reaching at the top of the stroke also wastes valuable output. Lifting the hands above eye level or reaching the poles far ahead in search of a longer push simply increases the dead-time between strokes. On a steep hill, that pause causes your momentum to drop to zero. Keep hand recovery tight, planting quickly at shoulder height to maintain an unbroken turnover rate.
Letting the elbows flare wide outward leaks power sideways. Elbows should point back, tracking close to the ribs through the downward press. Flaring the arms stresses the shoulder labrum and rotator cuff, shifting work away from the large latissimus dorsi muscles and shortening your effective ground contact window.
Next steps for the track
Take these tactical adjustments to the field in structured blocks. Begin with gradient identification on your regular training routes. Find a consistent climb with a 7 to 10 percent slope that measures at least 200 meters from bottom to top. Leave heart rate monitors on display to monitor effort spikes as you modify your technique.
Dedicate your next session to high-cadence short-stroke intervals. Run four to six repeats up the incline using double poling only, capping each repetition at 45 seconds. Focus purely on turnover: hold cadence at or above 56 strokes per minute, finish hand drives strictly at the hip line, and snap straight back into the forward lean. If your mechanics degrade or your hips sink backward, stop the repetition early, rest for two minutes, and restart with clean posture.