
Pack weight shifts your biomechanics. When you carry a daypack while Nordic walking, every extra gram alters how your feet strike, how your pelvis rotates, and how your poles strike the dirt. Nordic walking relies on active upper-body propulsion, meaning your shoulder girdle, thoracic spine, and latissimus dorsi work continuously. A poorly loaded pack turns this active propulsion system into a defensive bracing posture.
Most daypacks are designed for passive hiking, where the arms swing loosely or rest on shoulder straps. Pole walkers need active shoulder extension behind the hip, continuous torso rotation, and unimpeded breathing mechanics. Setting up a pack for pole walking requires specific load distribution, exact harness tensions, and a strict limit on total mass. If your gear sits two inches too low or pulls two inches too far back, your pole plant angle degrades immediately.
How back weight alters pole plant angle
Standard Nordic walking mechanics require an aggressive, backward-angled pole plant. On level terrain, the pole shaft contacts the ground at roughly 55 to 65 degrees relative to the horizontal surface. This acute angle ensures that when you apply force through the strap, that energy drives your body forward rather than lifting your torso upward. The plant must occur roughly level with the heel of the opposing forward foot.
Add five kilograms to your back, and your center of gravity moves upward and backward. The central nervous system automatically compensates for this rearward pull by pitching the torso forward from the ankles and hips. While a forward torso lean of 4 to 7 degrees is normal in athletic pole walking, excess pack leverage increases this lean beyond 12 degrees. At that forward angle, the geometry of your arm swing collapses.
When your torso collapses forward under a rear-heavy load, your hands reach too far forward to maintain balance. The pole plant angle shifts closer to 80 or 85 degrees, nearly perpendicular to the ground. Instead of pushing behind you to create horizontal propulsion, you begin pushing downward into the dirt to hold your torso upright. The pole acts as a crutch rather than an accelerator. This braking action spikes impact shock into your wrist, elbow, and shoulder joints.
| Load Position | Average Plant Angle | Forward Torso Lean | Biomechanical Effect |
|---|---|---|---|
| Unweighted (Baseline) | 60 degrees | 5 degrees | Optimal propulsion, full backward arm extension past hip. |
| Low and rearward sag | 78 degrees | 14 degrees | Braking force, reduced stride length, lumbar shear stress. |
| High and close to spine | 62 degrees | 7 degrees | Sustained propulsion, slight triceps load increase, stable pelvis. |
Torso rotation also suffers when pack weight sits away from the spine. Normal pole walking produces between 6 and 11 degrees of thoracic rotation per stride. A pack that sags backward creates a pendulum effect across your scapulae. To prevent the load from swaying laterally, your spinal active vitality and rhomboids contract statically. This tension locks your ribcage, ending thoracic rotation and forcing your arms to work as isolated levers without core integration.
The six-kilogram threshold for upper body freedom
Pack weight changes from an aerobic challenge to an orthopedic handicap once gross pack mass crosses six kilograms. Field testing with force plates and motion sensors demonstrates that below six kilograms, an experienced walker can maintain proper shoulder extension past the coronal plane. Above six kilograms, the shoulder girdle locks into a stabilized carry position, reducing total arm travel by roughly 32 percent.
Upper body freedom requires three movements: full glenohumeral extension behind the hip, open-handed release of the grip via the wrist strap, and counter-rotation of the shoulder girdle against the pelvis. A heavy pack creates downward vertical drag that traps the scapulae against the posterior ribcage. When your shoulder blades cannot glide, your triceps cannot push the pole through to full extension. You end up chopping at the ground with short, bent-arm strokes.
Keep your total daypack weight under this six-kilogram limit by analyzing your gear strictly by gram weight. For a four-hour to six-hour trail session, your mass breakdown should match these targets:
- Empty pack chassis: 550 to 850 grams. Avoid heavy internal metal frames; choose framesheets with light perimeter wire or frameless ripstop nylon.
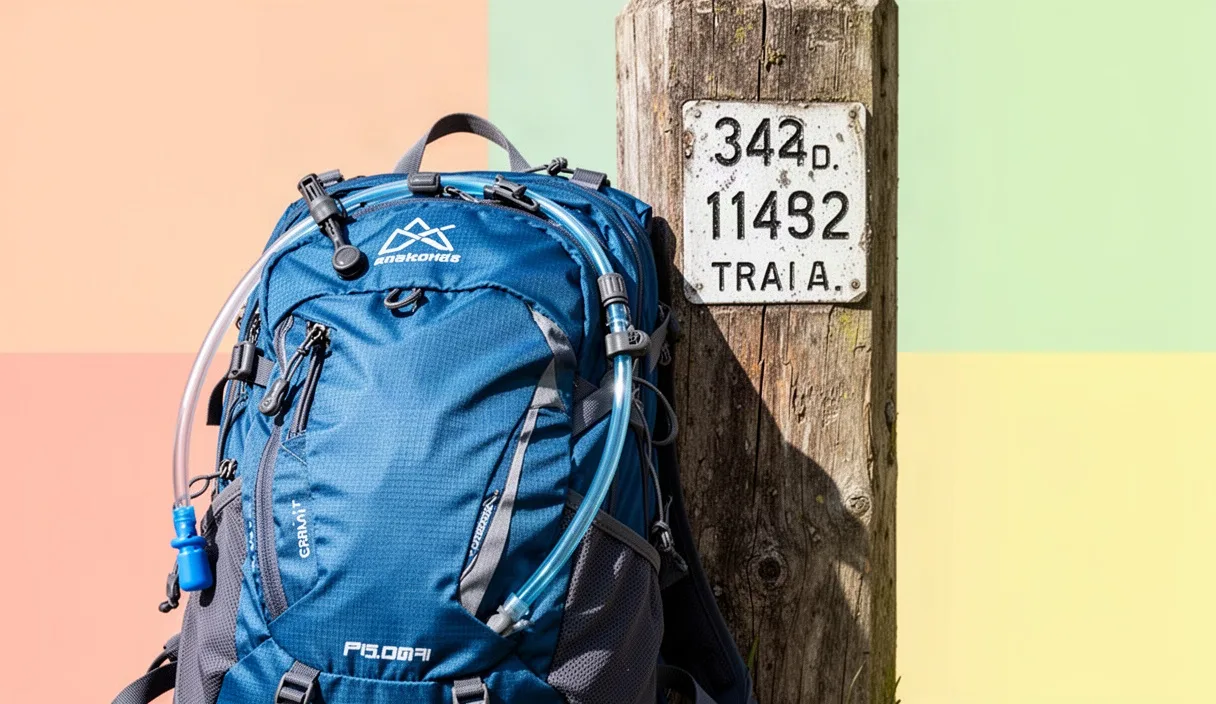
- Hydration: 1500 to 2000 grams (1.5 to 2.0 liters). Carry water in a dedicated bladder against the back panel or dual 500-milliliter soft flasks mounted high on the chest straps.
- Weather layer: 250 to 400 grams. A single ultralight windshirt or three-layer waterproof jacket.
- Trail nutrition: 300 to 500 grams. Dense calories packed in flat, packable formats.
- First aid, navigation, micro-gear: 400 grams maximum.
If your trail logistics require gear exceeding six kilograms, such as winter mountaineering layers or technical camera systems, expect to shorten your stride by roughly 8 percent and lower your pole plant cadence. If you experience persistent cervical spine tingling or lumbar ache above this weight, strip your gear down immediately or consult a sports physical therapist to evaluate your posture under load.
Strategic gear packing: heavy items to the spine
Pack packing is a problem of physical leverage. The further a heavy object sits from your anatomical center of gravity, the greater the torque it exerts on your paraspinal muscles. A one-kilogram bottle of water sitting on the outer back pocket of your daypack exerts roughly three times more rotational torque on your lumbar spine than that same bottle sitting directly against your thoracic vertebrae.
Divide your daypack into three distinct vertical zones and two depth layers. The depth layer directly against your back sheet carries the dense items. The outer depth layer carries light, compressible items. Use this loading sequence every time you pack:
- Pack the bottom zone with light, bulky items. Stuff your spare base layer, emergency bivy, or rain pants into the bottom 20 percent of the pack bag. This creates a firm, shock-absorbing platform that lifts the rest of the load above the sacrum.
- Pack the middle-to-upper spine zone with maximum density. Place your water reservoir, dense food items, and heavy repair kits directly against the pack frame sheet, between the bottom of your shoulder blades and the mid-thoracic spine. This places the center of pack mass directly over your walking base of support.
- Pack the top pocket with medium-weight essentials. Place your navigation tools, headlamp, and first aid kit here for rapid access without shifting the pack center of gravity outward.
- Pack the outer face with zero dense gear. Use the external stretch pocket only for empty soft flasks, discarded windbreakers, or lightweight gloves. Never put full water bottles in an exterior mesh pocket hanging off the back of the pack.
Side water bottles present a distinct problem for pole walkers. Carrying a one-liter rigid bottle in an elastic side pocket places excessive mass outside your body core. As your hips and shoulders rotate, this lateral mass creates centrifugal pull, tugging your arm off its straight forward-and-back swing line. If you carry two side bottles, draining one bottle first creates an asymmetrical side-load that makes your left and right pole plants uneven. Use a central hydration bladder or drink alternately from dual chest-mounted soft flasks to maintain balance across your sagittal plane.
Harness adjustment: sternum strap clearance
The sternum strap on a daypack does not exist to support pack weight. Its only job is to control the position of the shoulder straps across your clavicles, preventing the pack from sliding backward off your shoulders. For regular hikers, tightening this strap tightly across the chest causes few obvious problems. For pole walkers, a cinched sternum strap destroys mechanics by restricting thoracic expansion and compressing the pectoral muscles.
When pole walking, your pectoralis major and minor stretch dynamically on every backward arm swing. If your sternum strap is pulled taut, the shoulder straps are pulled inward toward the center of your chest. This inward displacement digs the webbing directly into the anterior deltoid tendon and the coracoid process. Within two kilometers of brisk walking, this pressure restricts forward shoulder reach and inflames the shoulder tendons.
Follow these steps to set sternum strap clearance correctly:
- Set vertical height: Slide the sternum strap adjustment rails until the horizontal webbing sits roughly 4 to 5 centimeters below your clavicles. It should cross your sternum over the second or third intercostal space. If it sits across your throat, it pinches the trapezius; if it sits across the lower ribs, it restricts your diaphragm during hard aerobic climbs.
- Set strap tension: Stand upright, exhale completely, and fasten the buckle. Tighten the strap until it lies flat against your chest without pulling the shoulder straps inward from their natural lines across your shoulders.
- Test dynamic clearance: Inhale deeply to maximum lung capacity while swinging both poles backward into full extension. The strap should reach maximum tension without choking off your inhale. You must be able to slide two fingers flat behind the strap while holding a full breath.
If your pack features a sternum strap with an integrated elastic segment, inspect the elastic tension. The elastic must not be fully stretched when you stand at rest. It should retain roughly 15 millimeters of stretch reserve so it can flex with your chest wall on steep uphill sections where breathing volume increases.
Waist belt tension on hip-driven strides
Nordic walking is driven from the pelvis. Efficient pole walking relies on pelvic rotation along the vertical axis, moving 4 to 8 degrees with each forward step. As your left leg extends forward, your left iliac crest rotates slightly forward. This pelvic drive lengthens your stride without overstriding at the knee and links the push of the trailing foot with the plant of the opposite pole.
Heavy trekking packs rely on rigid, thick hip belts clamped tightly over the iliac crests to transfer 75 percent or more of the load directly to the pelvis. In Nordic walking, this rigid clamping freezes your hips. If your hip belt locks your iliac crests in a fixed alignment, your pelvis cannot rotate. Your gait becomes robotic and stiff, forcing your lower lumbar spine to absorb the twisting forces that should be handled smoothly by your hips.
For daypacks weighing under six kilograms, calibrate your waist belt to stabilize the pack rather than lock down your skeleton. The goal is to stop the bottom of the pack from bouncing against your lower back while allowing your pelvis to rotate freely.
Adjust the waist belt for pelvic mobility
Loosen your shoulder straps and load-lifters first. Settle the pack on your back so the lumbar pad sits in the curve of your lower back, not down over your gluteal muscles. Fasten the waist belt buckle directly over your navel or just below it, depending on pack torso length. Tighten the straps until the belt maintains constant contact with your clothing, but stop before the padding compresses your hip crests tightly.
Take twelve exaggerated, long-stride pole walking steps. Pay close attention to your belt line. If the pack fabric twists visibly against your shirt or rubs your waistband back and forth, the belt is too loose. If you feel pressure points on the front edges of your iliac crests as your hips rotate, the belt is too tight. Loosen the webbing by 10 to 15 millimeters until your hips pivot naturally while the pack remains anchored to your back.
Consider the structure of the waist belt itself. For dedicated pole walking sessions, choose packs with flexible, unpadded webbing belts or lightweight, articulating hip wings with mesh pockets. Avoid thick, thermo-molded foam belts engineered for heavy load-hauling. A flexible belt conforms to your changing pelvic angles through your stride, keeping the load quiet without restricting your gait.
Common mistakes
Small setup errors ruin good mechanics. Watch out for these four frequent gear mistakes on the trail:
- Letting the pack sag low on the back: Lengthening shoulder straps drops the pack weight onto the lumbar spine and glutes. This pulls your upper torso backward, forcing you to lean forward excessively and plant your poles at inefficient, braking angles. Keep the pack base riding at or above your belt line.
- Over-tightening shoulder load-lifter straps: Daypacks with load-lifter straps should maintain an angle of roughly 30 to 45 degrees between the pack body and the shoulder harness. Cranking these straps down flat pulls the pack frame too close to your neck, trapping your upper trapezius and limiting rear arm extension.
- Wearing oversized packs half-empty: Packing a 35-liter pack with only 12 liters of gear lets the contents slump to the bottom and slide around as you move. This shifting weight disrupts your rhythm. Use your pack's side compression cords to pull the load tight against the back panel.
- Ignoring torso length adjustments: Carrying a pack with a torso measurement that is too long forces the shoulder straps off your shoulders when the hip belt is fastened. This creates a gap that lets the pack shift with every arm swing. Measure your torso from your C7 vertebra to your iliac crest, and select a pack chassis that matches your exact spine length.
Next steps on the trail
Dial in your pack setup before heading out for a long trail session. Spend thirty minutes organizing your gear systematically using this process:
Weigh your packed daypack on a hanging luggage scale or digital kitchen scale. If the total mass exceeds six kilograms, remove non-essential items until you hit 5.5 kilograms or lower. Lay your gear out on a table and repack it using the zoned loading method: compress bulk into the base, lock your water bladder and dense gear against the frame sheet, and keep the exterior pockets empty of heavy gear.
Head to a local flat trail or paved track. Walk 800 meters with your poles while wearing your loaded pack. Stop and evaluate your position: are your hands releasing cleanly behind your hips, or are your elbows staying bent? Are your poles striking at roughly 60 degrees, or are they landing upright in front of your body? Adjust your sternum strap tension by five millimeters and check your waist belt tension to ensure your hips rotate freely.
If you experience sharp neck pain, radiating shoulder discomfort, or lower back stiffness that does not go away after adjusting your pack weight and straps, stop using the pack immediately. Have your posture and movement patterns evaluated by a certified Nordic walking instructor, physiotherapist, or sports medicine specialist to ensure your pack matches your body mechanics.