
Nordic walking pole length determines your propulsion, cadence, and posture. A pole that sits 5 centimeters too high forces the shoulder girdle toward the ears and strains the upper trapezius. A pole that sits 5 centimeters too low cuts your push phase short and removes the propulsion benefits of the sport. You need an exact number before you buy equipment or set your adjustable locks.
Calculating your proper length requires two distinct steps: a baseline mathematical formula and a physical verification test with your walking footwear on. The formula provides a clear starting point based on aggregate biomechanical testing. The physical test accounts for individual variations in forearm length, torso proportions, and shoe stack height.
The standard 0.68 height calculation
Multiply your standing height in centimeters by 0.68 to get your baseline pole length. This coefficient, established by European fitness federations and equipment manufacturers, targets the optimal biomechanical lever arm for forward propulsion. A person who stands 175 centimeters tall needs a pole around 119 centimeters long (175 x 0.68 = 119). Because commercial fixed-length poles are manufactured in 5-centimeter increments, this individual must decide between a 115-centimeter pole and a 120-centimeter pole.
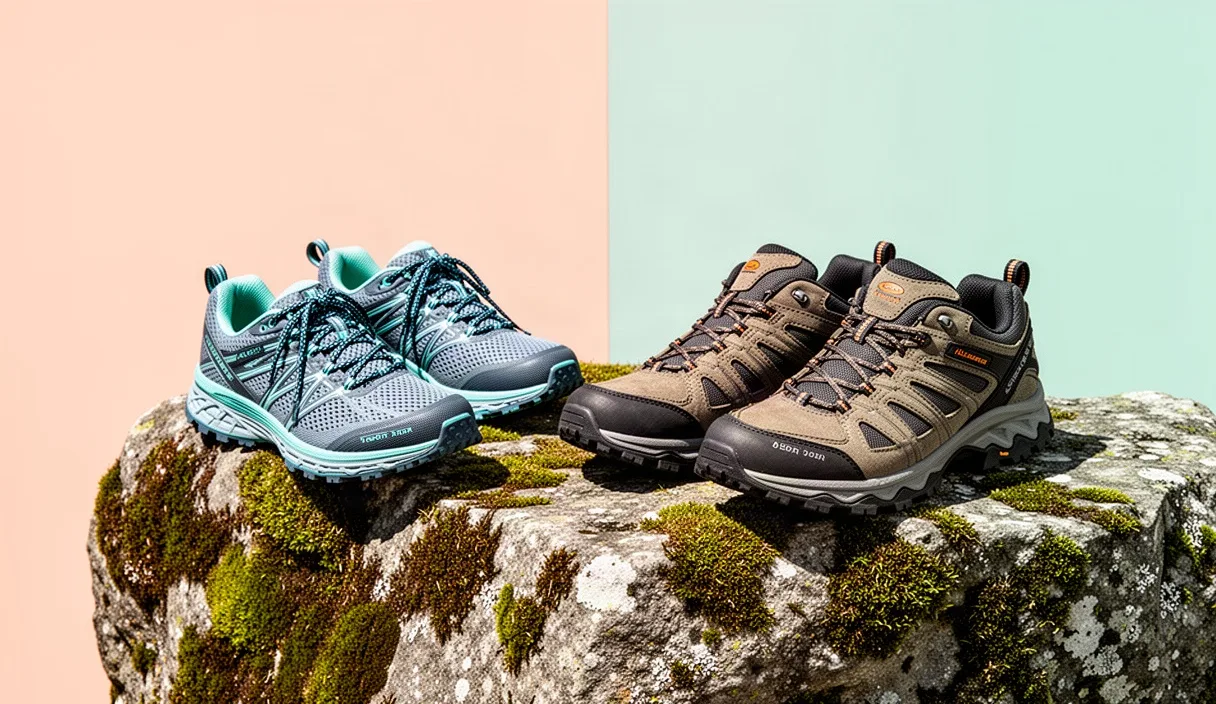
Measure your height while wearing your typical walking or trail shoes. Outsoles and midsoles add between 2 and 4 centimeters to your physical stature. If you measure bare feet at 180 centimeters, your formula yields 122.4 centimeters. If your trail shoes add 3 centimeters, your working height becomes 183 centimeters, yielding 124.4 centimeters. That 2-centimeter difference changes which commercial size you should select.
Choose your round-off direction based on physical fitness, joint mobility, and walking intent:
- Round down to the lower size: Recommended for beginners, walkers returning from shoulder or neck injuries, and individuals with shorter arms relative to their torso. A shorter pole reduces shoulder joint impact and makes it easier to learn the open-hand release technique behind the hip.
- Round up to the higher size: Recommended for experienced walkers, cross-country skiers using poles for dryland training, and individuals with a long, athletic stride. A taller pole demands a stronger triceps contraction and increases upper-body power output.
| Total Height with Shoes (cm) | Calculated Value (x 0.68) | Beginner / Recovery Size (cm) | Fitness / Athletic Size (cm) |
|---|---|---|---|
| 155 | 105.4 | 100 | 105 |
| 160 | 108.8 | 105 | 110 |
| 165 | 112.2 | 110 | 115 |
| 170 | 115.6 | 115 | 115 |
| 175 | 119.0 | 115 | 120 |
| 180 | 122.4 | 120 | 125 |
| 185 | 125.8 | 125 | 125 |
| 190 | 129.2 | 125 | 130 |
| 195 | 132.6 | 130 | 135 |
Verification by elbow angle check
Formulas ignore the ape index, which is the ratio of arm span to standing height. Two walkers standing 170 centimeters tall may have arm spans that vary by up to 8 centimeters. To compensate for limb proportion variances, verify the pole length by measuring the joint angle of your elbow in an upright standing stance.
Execute this physical verification sequence on a flat, firm surface:
- Put on your regular walking shoes and fasten the straps securely.
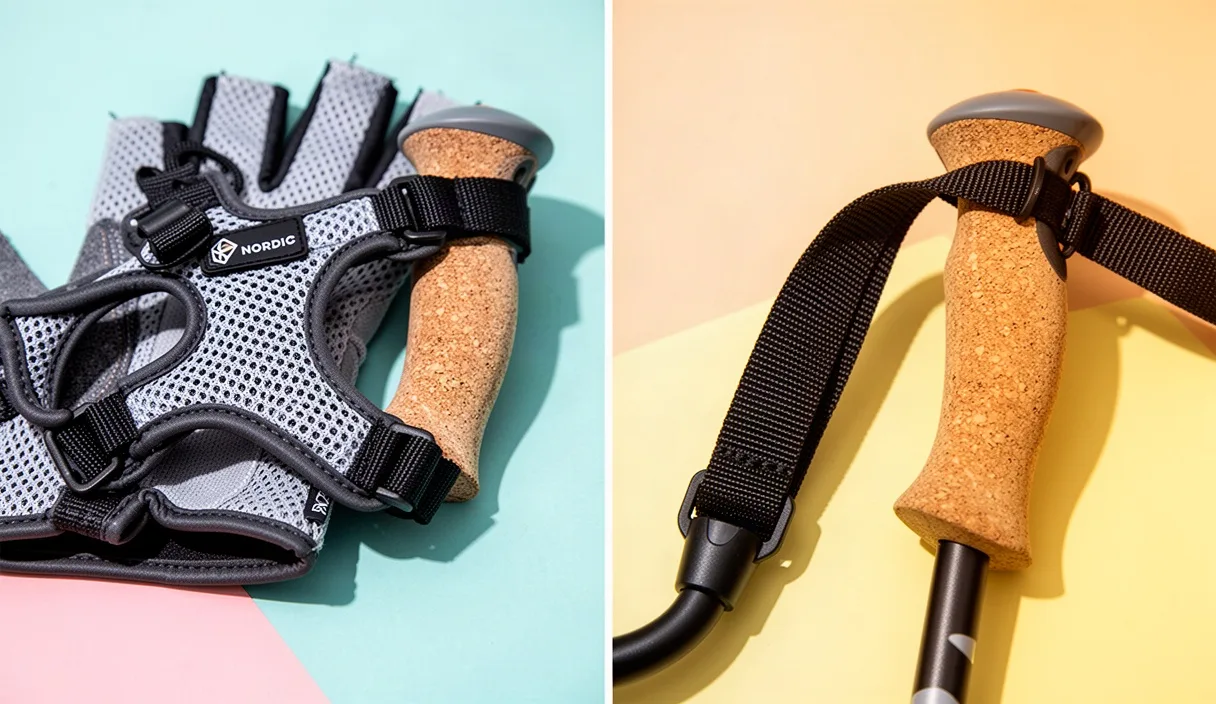
- Slide your hands into the pole gauntlet straps. Secure the hook-and-loop closure snugly around your wrist so the strap webbing rests firmly in the web between your thumb and index finger.
- Place the pole tips on the ground directly adjacent to the outside edge of your shoes, holding the shafts completely vertical.
- Relax your shoulders down and back. Let your upper arms hang naturally along your torso without flaring your elbows outward.
- Look at the bend in your elbow joint in a full-length mirror or have a partner view you from the side.
The elbow must form an exact 90-degree angle when the pole rests vertically against the floor. At this angle, your forearm runs parallel to the walking surface. If the inside angle is acute (under 90 degrees), the pole is too long and will strain your anterior deltoids during forward swings. If the angle is obtuse (greater than 95 degrees), the pole is too short, which causes you to hunch forward to maintain ground contact at the back of the stride.
For aggressive fitness walking on flat pavement, an angle between 85 and 90 degrees is acceptable because the pole strikes the ground at an angle behind you, effectively shortening its working height during movement. For recreational pacing and joint unloading, keep the angle between 90 and 95 degrees.
Adjustments for steep ascents and descents
Terrain grade alters the geometric relationship between your feet and your pole tips. When climbing an incline, the ground rises to meet you; your pole tips plant higher on the slope than your feet. When descending, the ground drops away, making the distance between your hand and the plant point significantly longer.
Adjust your pole length manually if you use telescoping shafts, or adapt your grip technique if you carry fixed shafts:
- Uphill adjustments: Shorten adjustable poles by 5 to 10 centimeters depending on the grade. On a 12-percent slope, a 5-centimeter reduction allows you to plant the pole at an aggressive backward angle without lifting your shoulder toward your ear. If using fixed poles, slide your hands down the cork grip below the strap mechanism, gripping the bare shaft or the lower foam extension.
- Downhill adjustments: Lengthen adjustable poles by 5 to 10 centimeters. This gives you solid ground contact ahead of your body without requiring you to lean your chest forward past your center of mass. With fixed poles, slip your hands out of the wrist straps and cup the rounded plastic or rubber crowns of the grips with your palms to gain an extra 3 to 4 centimeters of functional length.
Do not maintain a standard flat-ground length on extended alpine ascents. Forcing a standard length on a sustained hill climb locks your shoulders into continuous flexion, cutting off blood flow to the hands and provoking neck stiffness within 20 minutes.
Fixed shaft vs adjustable locking systems
Selecting between one-piece fixed shafts and multi-segment adjustable shafts comes down to a trade-off between weight, vibration dampening, and adaptability. Your decision changes how precisely you must dial in your baseline calculation before purchase.
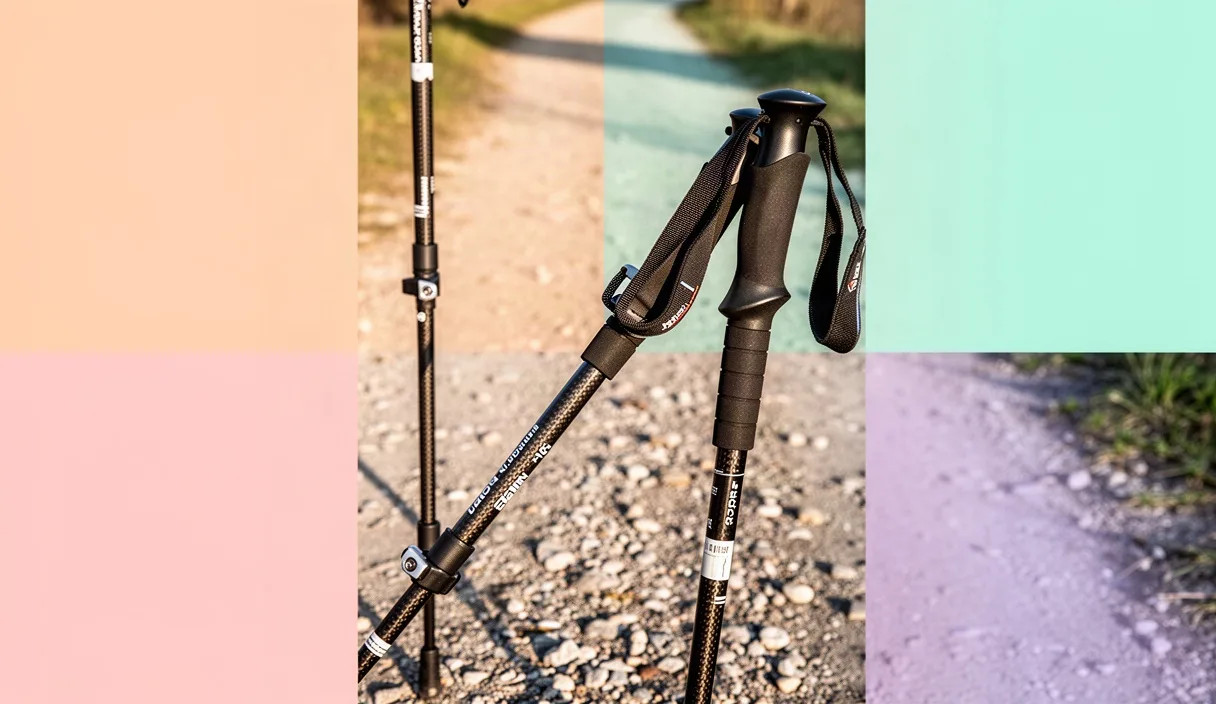
Fixed-shaft poles offer superior swing mechanics and structural rigidity. Made from aluminum or carbon composite mixtures, they contain no internal expanders or external levers. A high-carbon fixed pole weighs as little as 140 grams per unit. This low swing weight reduces forearm fatigue over 15-kilometer routes. Fixed poles also eliminate rattling vibrations that travel into the wrist and elbow joints upon impact. The downside is absolute inflexibility: if you choose a 115-centimeter shaft and later realize you need a 118-centimeter length, you must replace the entire pole.
Adjustable poles feature two or three telescoping segments held in place by internal twist mechanisms or external lever clamps. They allow length changes in millimeters, making them ideal for mixed-grade trails and households where multiple people share gear. However, the locking hardware adds between 40 and 90 grams of weight per pole, shifting the balance point higher up the shaft.
| Pole Construction | Average Weight per Pair | Vibration Dampening | Best Use Case |
|---|---|---|---|
| Fixed Carbon Shaft | 280 to 360 grams | High (filters asphalt shock) | Dedicated fitness walking, flat to rolling paved routes |
| Fixed Aluminum Shaft | 380 to 460 grams | Moderate (transfers slight buzz) | Budget-conscious walkers on uniform terrain |
| Two-Piece Lever Lock | 420 to 520 grams | Moderate to Good | Varied terrain, trail systems, travelers needing packability |
| Three-Piece Twist Lock | 460 to 580 grams | Low to Moderate | Occasional walkers, compact travel in small luggage |
If you choose an adjustable system, prioritize external cam-lever locks over internal twist expanders. Lever locks are easier to verify visually, work reliably in freezing temperatures, and do not slip under heavy bodyweight loads when torqued properly with a tension adjustment dial.
Common sizing errors and shoulder strain
Using the wrong pole length alters the mechanical kinetics of your upper body. The shoulder joint is a shallow ball-and-socket mechanism that relies on muscular stabilization from the rotator cuff. Suboptimal pole length creates biomechanical leverage issues that stress these small stabilizers.
When poles are too long, three problems appear immediately:
- Shoulder elevation: You must hike your shoulder blades upward to swing the pole tip forward without dragging it along the ground. This keeps the levator scapulae and upper trapezius contracted through the entire stride cycle, producing tension headaches and chronic neck pain.
- Subacromial impingement: Planting a tall pole forces the humerus into excessive internal rotation and forward flexion, pinching the supraspinatus tendon beneath the acromion bone. If you experience deep, dull shoulder ache after walking, your poles are likely 5 centimeters too tall.
- Delayed ground release: A long pole prevents you from releasing the grip behind your pelvis at the natural termination of the push phase. The pole remains wedged against the ground, halting your hip extension.
When poles are too short, you lose the pushing platform required to engage the latissimus dorsi and core musculature. Walkers compensate by bending forward at the waist, which loads the lumbar spine and rounds the thoracic back. If lower back tightness develops after 30 minutes of walking, verify that your poles have not collapsed or that you did not buy a size below your actual requirements.
If chronic joint discomfort persists despite correct sizing, stop using the gear and consult a physical therapist or sports medicine professional to evaluate your shoulder mobility and thoracic spine alignment.
Common mistakes
Watch out for four widespread sizing mistakes:
- Measuring without footwear: Calculating length while standing in socks creates a 2- to 4-centimeter deficit. Always stand in your actual walking shoes before measuring height or checking elbow angles.
- Using trekking pole rules: Trekking poles are planted ahead of the body to absorb downhill descent forces, often requiring shorter lengths or variable hand positioning. Nordic walking poles are planted angled backward behind the body to drive horizontal momentum. Do not use hiking guides to size Nordic gear.
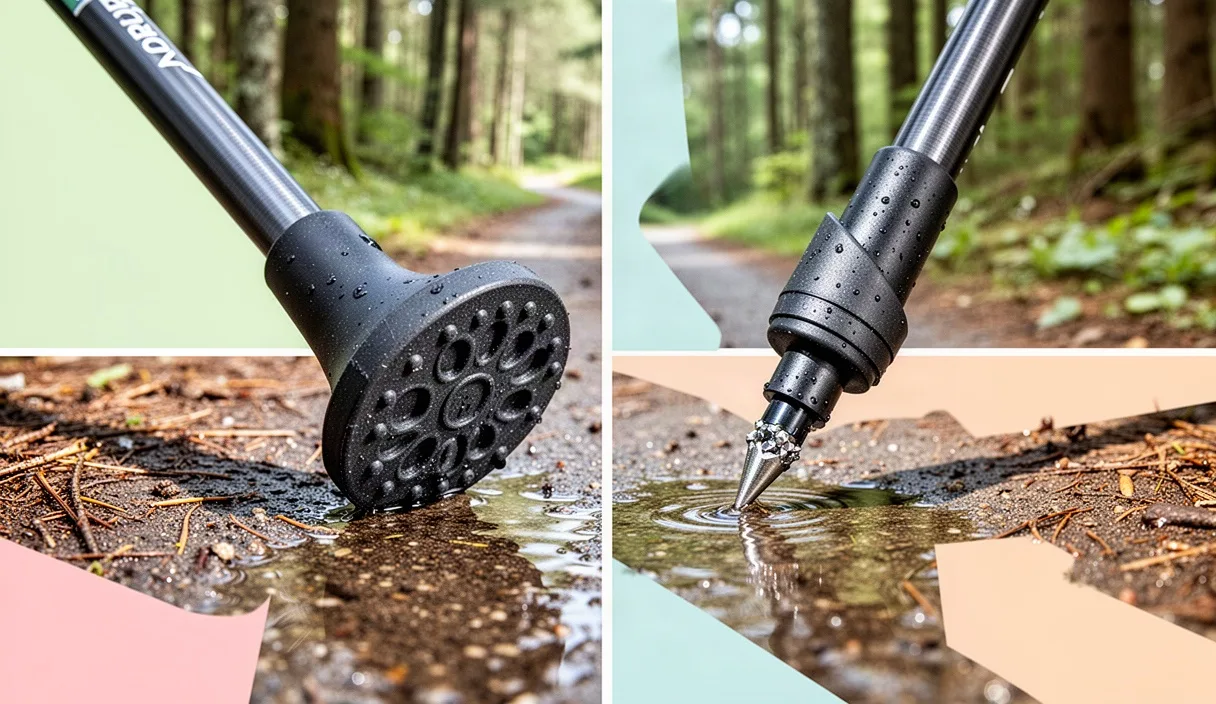
- Ignoring the rubber paw thickness: Nordic walking poles come with removable rubber pads for asphalt and carbide claws for dirt. A rubber paw adds 1.5 to 2 centimeters of length. Measure your pole with the rubber paw attached if you walk primarily on paved greenways.
- Relying exclusively on height charts: Sizing charts printed on pole packaging are approximations based on average limb lengths. A person with a long torso and short arms will need longer poles than a person of the same height who has long arms and a short torso. Always run the physical elbow angle check.
Practical next steps for setup
Follow this checklist to finalize your gear setup before your next session:
- Step onto a hard, level floor wearing your primary walking shoes.
- Stand against a wall and mark your total shod height. Multiply that number by 0.68. Note the resulting figure.
- If you own adjustable poles, set the upper and lower shaft indicators to this exact calculated number and tighten the lever clamp firmly.
- Slip your hands into the strap systems, grab the grips, and stand upright with the shafts perpendicular to the floor. Check your elbow angle in a mirror.
- Adjust the shaft length up or down until your forearms are horizontal and your elbow angle sits between 90 and 95 degrees.
- Conduct a 10-minute trial walk on a flat path. Confirm that your hands swing past your hips smoothly without scuffing the tips early, and check that your shoulders stay relaxed and down away from your ears.