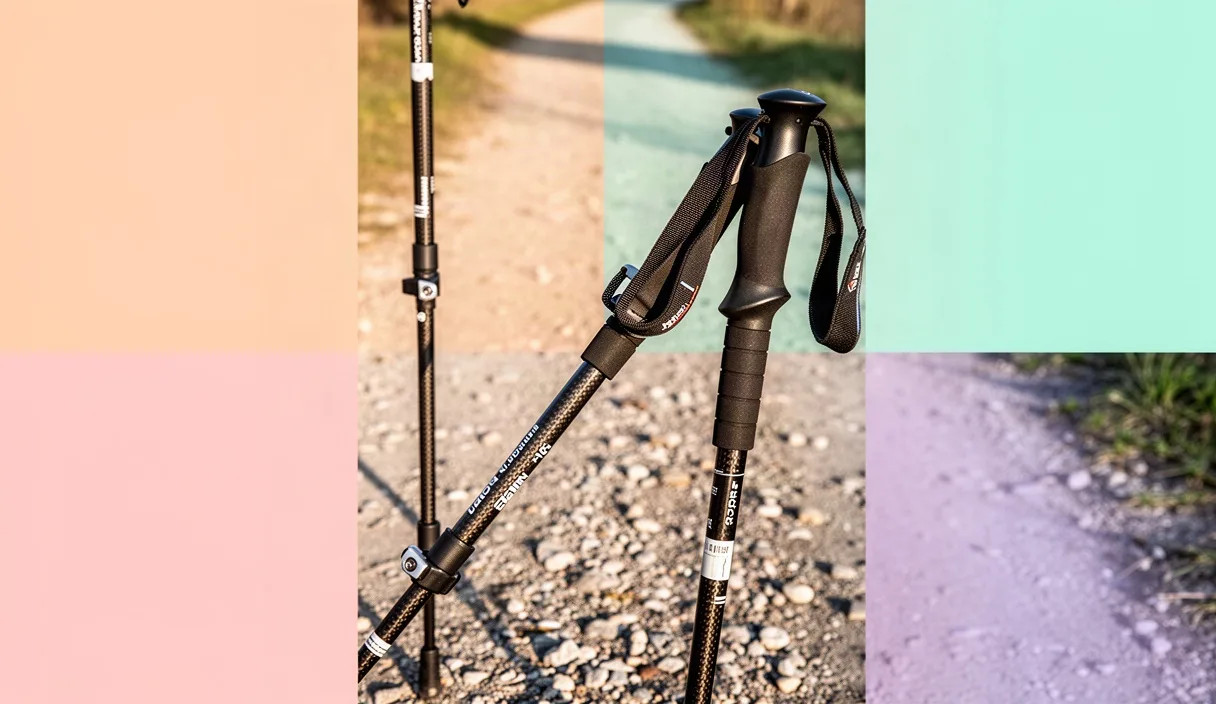

Hard pavement demands rubber paws. Bare carbide tips fail on tarmac, skidding across aggregate and sending harsh vibrations into your elbows. Selecting the wrong interface between pole and ground bleeds propulsive energy with every stride. On mixed surfaces like greenways that alternate between asphalt, crushed limestone, and hardpack dirt, choosing whether to cap or uncap your tips determines your pace, joint load, and gear lifespan.
Every pole plant generates a ground reaction force. When your technique is correct, you plant the pole at an acute angle behind your center of mass, driving backward through the strap. Rubber paws rely on surface friction to hold that line, while carbide tips rely on physical penetration. Understanding the mechanical differences between these two contact points stops energy leaks and prevents early joint fatigue.
Asphalt paws: mechanics of the rearward push
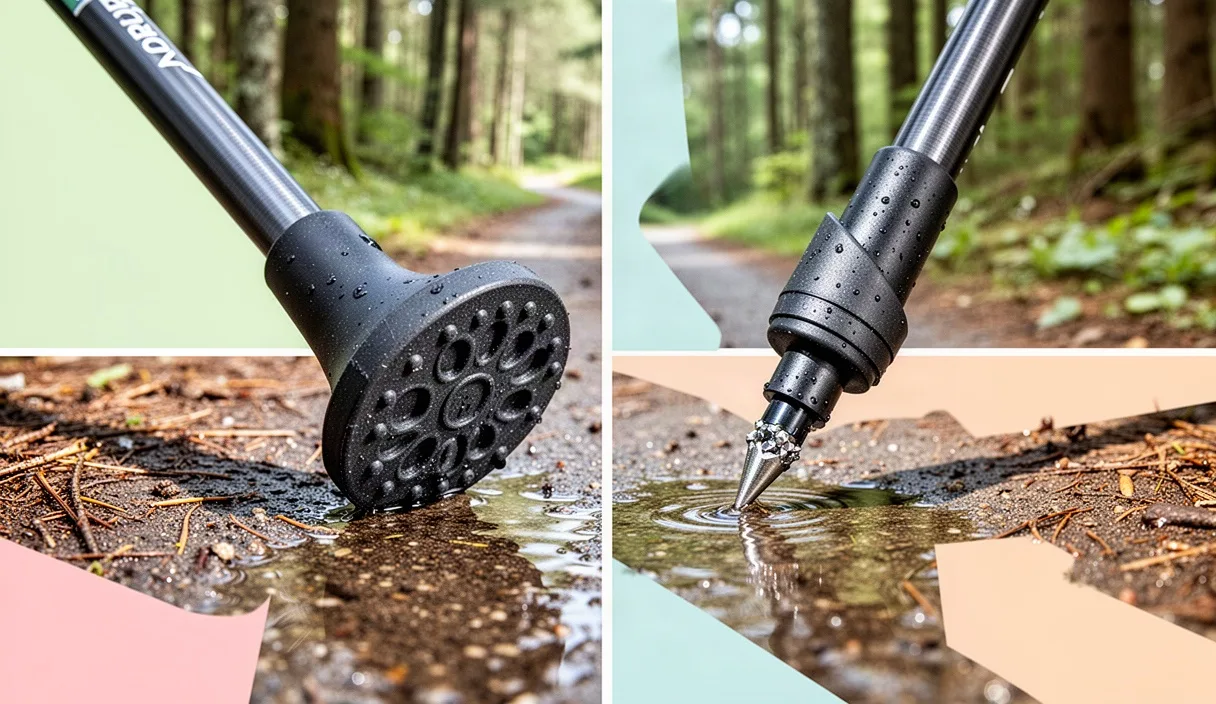
Asphalt paws, commonly called rubber pads or boots, translate arm extension into forward movement across non-porous surfaces. Standard vulcanized rubber paws create a static friction coefficient between 0.65 and 0.85 against dry asphalt. This friction holds only when the paw makes complete contact with the ground. Because Nordic walking poles strike the ground at an angle between 45 and 60 degrees, paws are molded with an asymmetric, angled bottom rather than a flat base.
Directional orientation dictates propulsion. The toe of the rubber paw must point backward, directly opposite your line of travel. When planted correctly at a 50-degree angle, the rearward heel of the rubber boot absorbs the initial ground strike. As your body moves forward over the plant point, the contact patch rolls toward the toe, preserving grip until your hand releases the grip past the hip. Installing a paw backward drops the effective surface contact area by more than 40 percent, causing the pole to slip out from under your weight before you finish your push.
Internal construction matters under load. Cheap, unreinforced rubber boots allow the sharp carbide tip inside to punch through the sole within 30 to 50 kilometers of hard walking. Quality asphalt paws feature an integrated vulcanized steel or aluminum washer seated in the base of the cavity. This washer distributes the point load from the 9-millimeter carbide tip across the entire footprint of the paw, preventing puncture and maintaining an even pressure distribution across the tread.
Carbide tips: bite angles on rock and soil
Tungsten carbide tips ignore friction and rely on direct mechanical penetration. Sintered tungsten carbide rates at roughly 9 to 9.5 on the Mohs hardness scale, making it hard enough to indent limestone, scratch granite, and bite directly into hardpack trail. On natural surfaces, rubber paws fail because loose debris, dust, and moisture roll beneath the smooth rubber tread, acting like ball bearings. Carbide tips bypass that loose top layer, penetrating 2 to 6 millimeters into the substratum to create a rigid anchor point.
Angle of attack dictates tip stability on natural trails. A carbide tip planted at 40 degrees into firm soil resists backward slippage through shear strength of the soil column. If the plant angle is too steep, meaning closer to 90 degrees vertical, the pole acts as a brake rather than a propulsion lever. If the angle is shallower than 35 degrees, the lateral shear force exceeds soil cohesion, causing the tip to gouge a trench through the dirt without providing forward thrust.
| Surface Type | Recommended Interface | Plant Angle Range | Mechanical Risk |
|---|---|---|---|
| Fresh Asphalt | Asphalt paw | 50 to 60 degrees | Tip skidding, ulnar vibration |
| Crushed Limestone | Bare carbide tip | 40 to 50 degrees | Paw tread clogged, slip-out |
| Exposed Granite Slab | Asphalt paw (soft compound) | 45 to 55 degrees | Carbide chipping, sudden slide |
| Packed Forest Soil | Bare carbide tip | 40 to 48 degrees | Paw hydroplaning on detritus |
| Chip-Seal Roadway | Asphalt paw (firm compound) | 50 to 55 degrees | Excessive rubber abrasion |
Carbide tips come in two primary profiles: concave (crown) tips and cylindrical (bullet) tips. Concave tips feature a hollowed-out center with a sharp circular rim. This rim cuts circular plugs into hardpack dirt and bites into micro-ridges on flat rocks. Bullet tips feature a blunt conical shape. While bullet tips last longer against continuous rock strikes, concave tips deliver 22 percent more grip on hard, dry earth paths before breaking traction.
Transition techniques on mixed trail segments
Mixed-surface routes force trade-offs. If a 10-kilometer route consists of 700-meter paved stretches alternating with 400-meter dirt paths, stopping to take paws off and put them back on ruins your aerobic rhythm. You need clear decision rules to choose the right tip setup on variable terrain.
Assess the surface hardness and gravel depth before changing configuration. Use the following ground-rule thresholds:
- Continuous gravel over 25 millimeters deep: Strip the rubber paws. Rubber cannot find purchase on shifting gravel, while carbide drops down through the stones to hit solid subgrade.
- Chip-seal roads with heavy tar bleed: Keep paws installed. While rough chip-seal feels like rock, carbide tips will slip across the rounded flint chips, and the vibration transfer to wrists remains high.
- Intermittent dirt under 200 meters: Leave rubber paws on, but increase downward pressure slightly and reduce the rearward pole angle by 5 degrees to keep the rubber contact patch flat.
- Wet roots and slick rock slabs: Remove standard hard rubber paws. Use bare carbide on roots, or switch to soft-compound sticky rubber paws designed specifically for wet alpine rock.
Execute transitions on the move using a sequential single-hand drill. When moving from dirt onto tarmac, pull the rubber paws from your waist stash with your dominant hand. Slide the left paw onto the left carbide tip while pinning the left pole shaft against your left thigh using your wrist strap tension. Repeat for the right side without breaking your stride. With practice, both paws can be secured in under 8 seconds while maintaining a 6 km/h walking pace.
Wear indicators and replacement schedules
Rubber wears fast; carbide wears slow. Waiting until a paw is completely smooth or until the carbide tip falls out damages your walking mechanics and risks joint irritation. Inspect your contact points after every 50 kilometers of trail time.
Rubber paws require replacement based on tread depth and rubber hardness. New paws carry 4 to 6 millimeters of tread depth across their contact face. When tread depth drops below 1.5 millimeters, wet traction drops sharply. More critically, look inside the cavity: if the steel washer is visible from the outside or rattling freely inside the rubber housing, discard the paw immediately. A dislodged internal washer allows the carbide tip to chew through the rubber within three kilometers, destroying the paw and exposing the ground to sudden metal strikes.
Carbide tips do not wear down through abrasion in the same way as rubber; they degrade through chipping and loss of edge geometry. A new concave tip has an edge thickness under 0.3 millimeters. After 1200 to 1800 kilometers of use, that edge rounds off to over 1.2 millimeters, losing its ability to bite into dense wood or hardpack. If the carbide insert has cracked, loosened inside its plastic ferrule, or worn down flush with the plastic collar, replace the entire lower tip basket assembly.
- Inspect the outer heel of the rubber paw. Uneven wear concentrated entirely on the outer corner signals excessive inward wrist pronation during the plant phase.
- Measure remaining tread grooves using a basic depth gauge or coin edge. Replace paws once grooves disappear on the main propulsion patch.
- Check the carbide insert for structural micro-fractures after walking through rocky riverbeds or scree fields.
- Test the grip of the plastic ferrule against the pole shaft. Replace the ferrule if it twists under moderate hand pressure.
Carrying spare paws without slowing cadence
Stuffing dirty paws into deep zippered jacket pockets interrupts your session. When wet dirt coats the rubber, pockets turn into mud traps, and digging them out breaks your arm swing. Implement an accessible storage solution that lets you grab and store paws within your standard shoulder-swing zone.
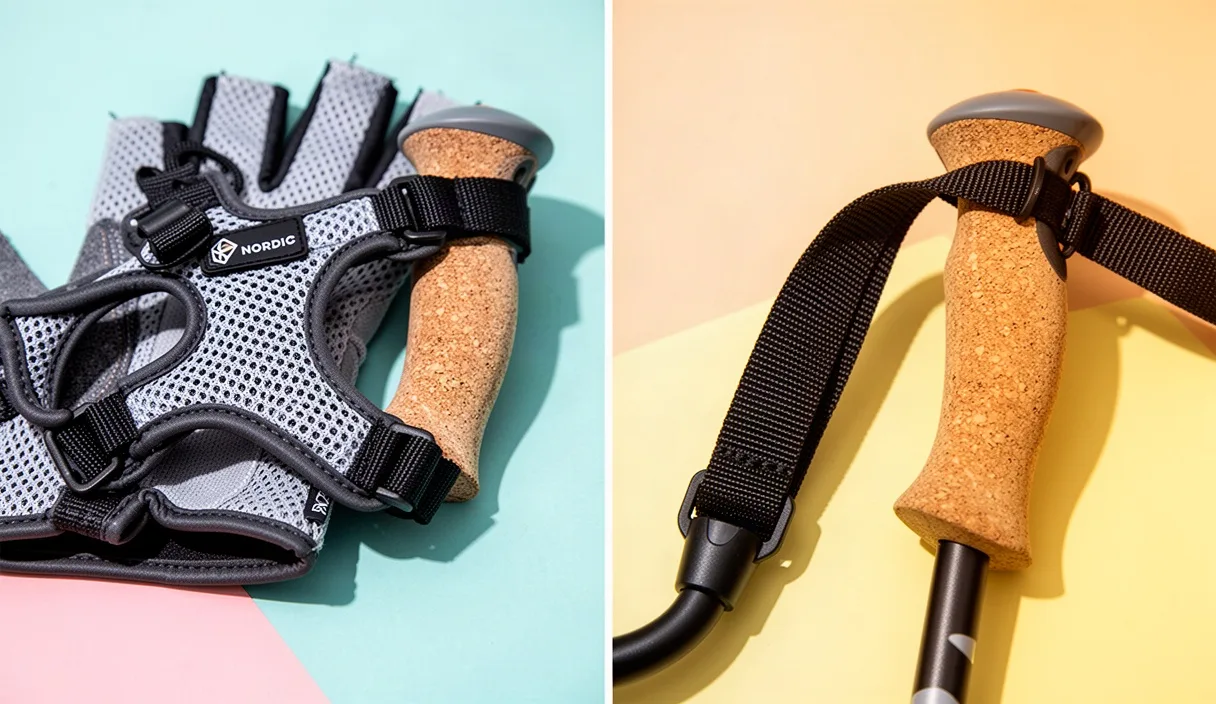
Shaft-mounted paw clips offer the quickest access. These dual-sided plastic clips snap directly onto a 16-millimeter or 14-millimeter upper pole shaft section. When walking on dirt, your asphalt paws snap into the clip facing upward, riding along the shaft weightlessly. When you transition to road, reach down, pop the paws off the clip, push them onto the tips, and keep walking. Ensure the clips are mounted high on the upper shaft, within 15 centimeters of the handle, to avoid changing the swing weight and balance point of the pole.
Waist belt holsters serve as the primary alternative. Small, elasticized mesh pockets mounted at the front hips of a hydration belt hold muddy paws securely without letting them bounce. Avoid Velcro closures, which collect grit and mud from the tips and lose their grip after a few muddy outings. Open-top stretch mesh pockets allow you to drop paws in blindly using muscle memory. Keep a lint-free shop towel cut into quarters in that pocket to clean off clay before reinstalling paws onto tips, as dirt trapped inside the paw cavity will grind down the plastic ferrule over time.
Common mistakes
- Reversing paw orientation: Installing paws with the angled tail pointing forward. This cuts contact surface area by more than 40 percent and creates immediate rearward slip on asphalt.
- Running bare carbide on dry concrete: Generates high-frequency shock waves that travel through carbon shafts into wrists, elbows, and shoulders. This practice also polishes carbide edges flat, ruining trail performance.
- Ignoring trapped grit: Installing rubber paws over mud-caked carbide tips. Trapped sand acts like sandpaper, abrading the tip basket and causing the paw to fly off mid-swing.
- Storing damp paws on pole tips: Traps moisture against the metal carbide ferrule. While carbide does not rust easily, the structural bonding adhesive holding the carbide into the plastic ferrule can degrade over long periods in standing moisture.
Practical next steps
Match your gear to tomorrow's terrain before you head out. Check your route map and calculate the road-to-trail ratio. If pavement covers more than 60 percent of your total distance, start with rubber paws mounted and ensure they are aligned parallel to the pole handles with the angled tails pointing straight back.
Inspect the condition of your paws right now. Turn the pole upside down and press your thumb hard into the center of the rubber tread. If you feel the distinct, hard circular rim of the inner steel washer through thin rubber, toss those paws in the trash and install a fresh pair. Pack an extra pair of boots in your waist pack; losing a paw on coarse aggregate twenty minutes into a two-hour workout ruins the rest of your session. If you experience persistent elbow or wrist pain after road sessions, speak with a physical therapist to check your plant angle and shock absorption technique.